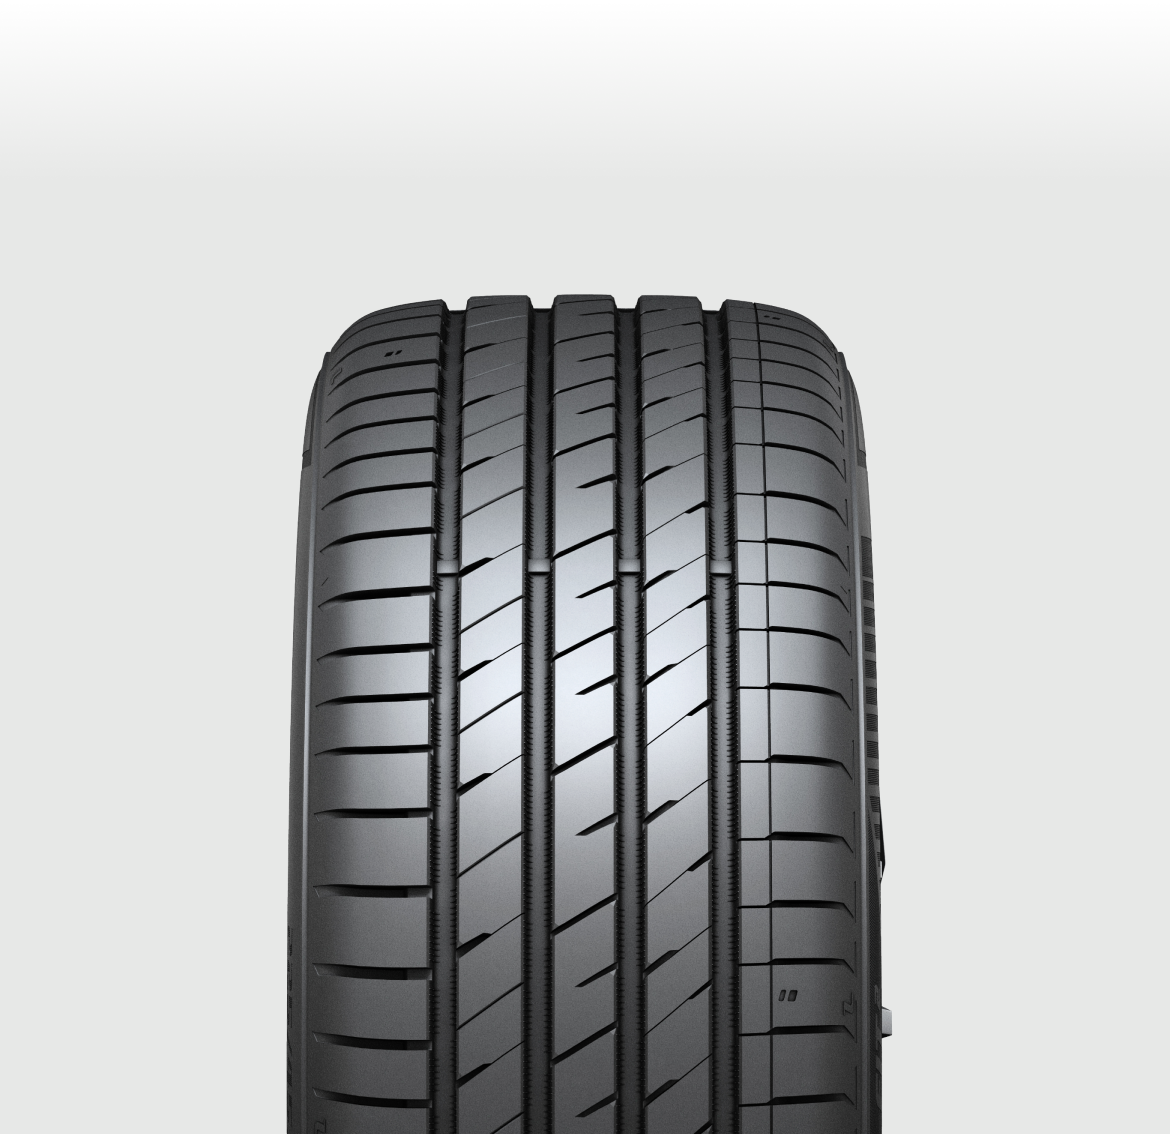
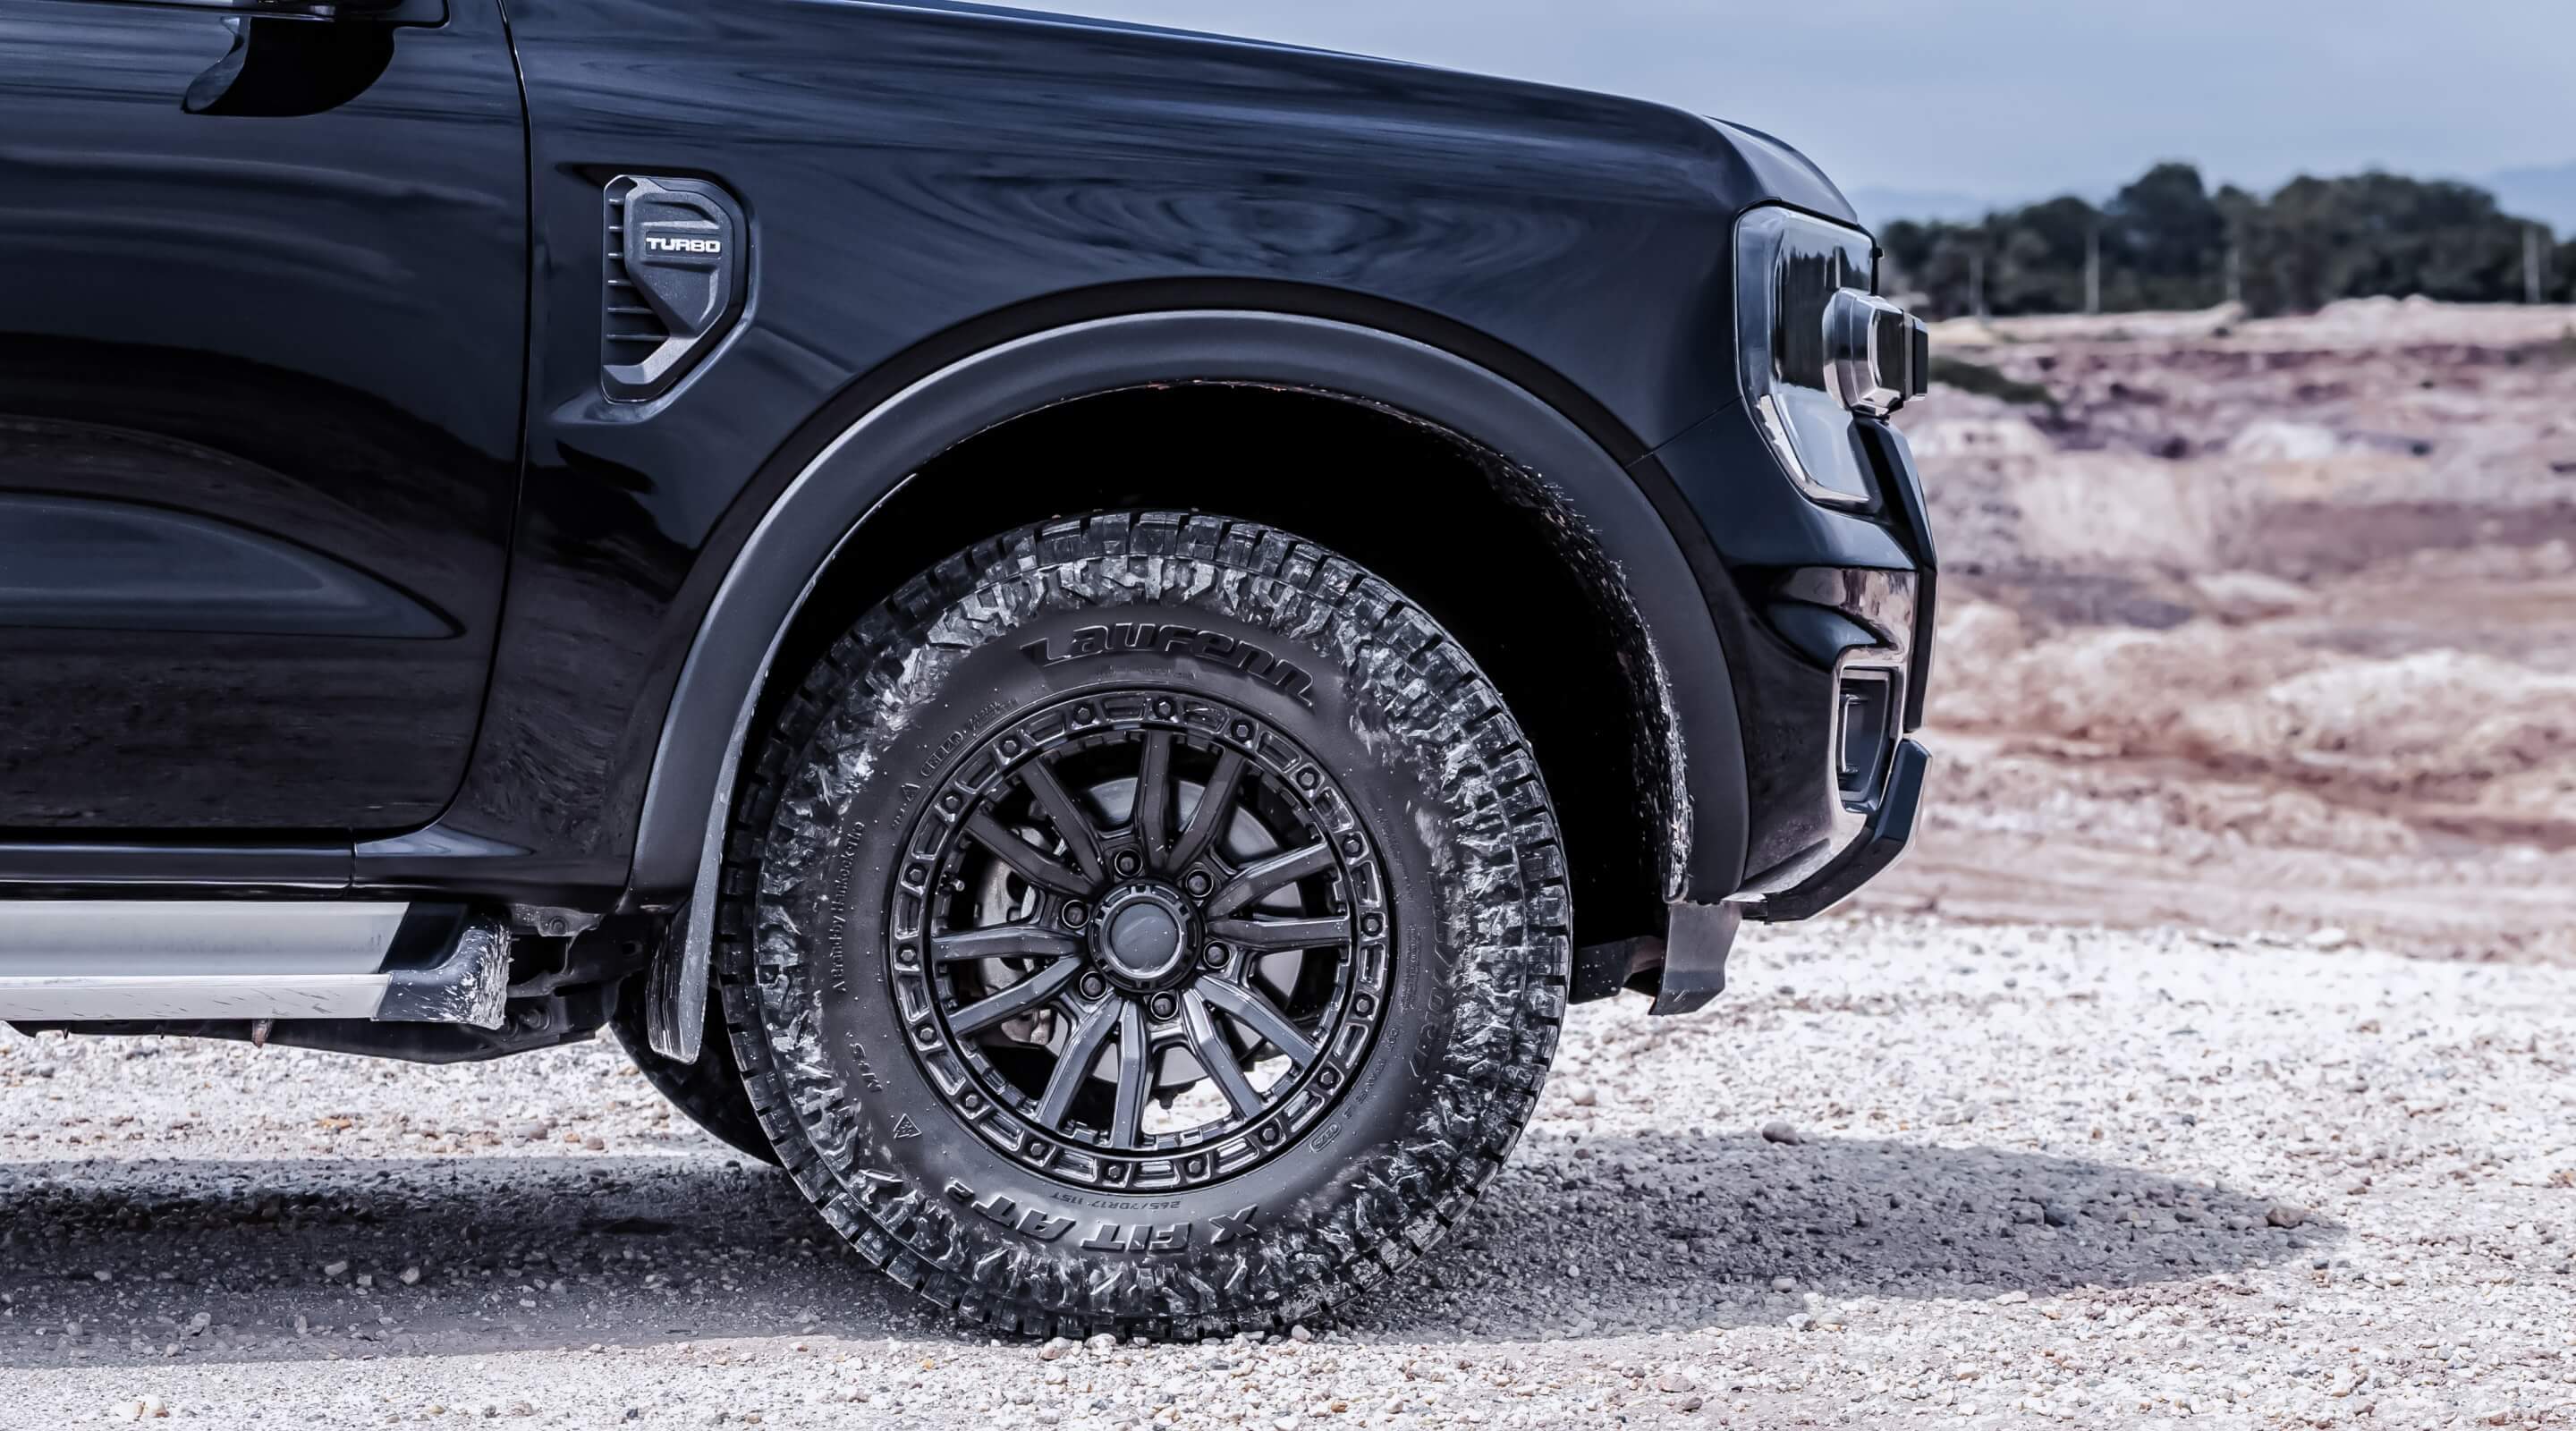
Main Visual


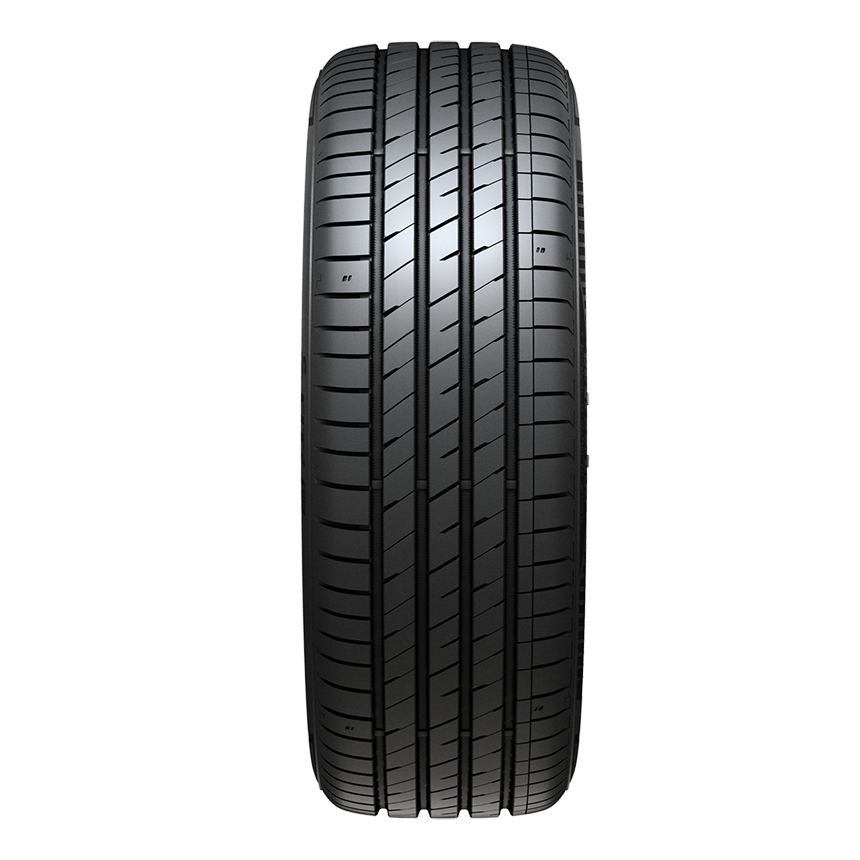
360° Tire View
Enhanced Wet and Mileage Performance
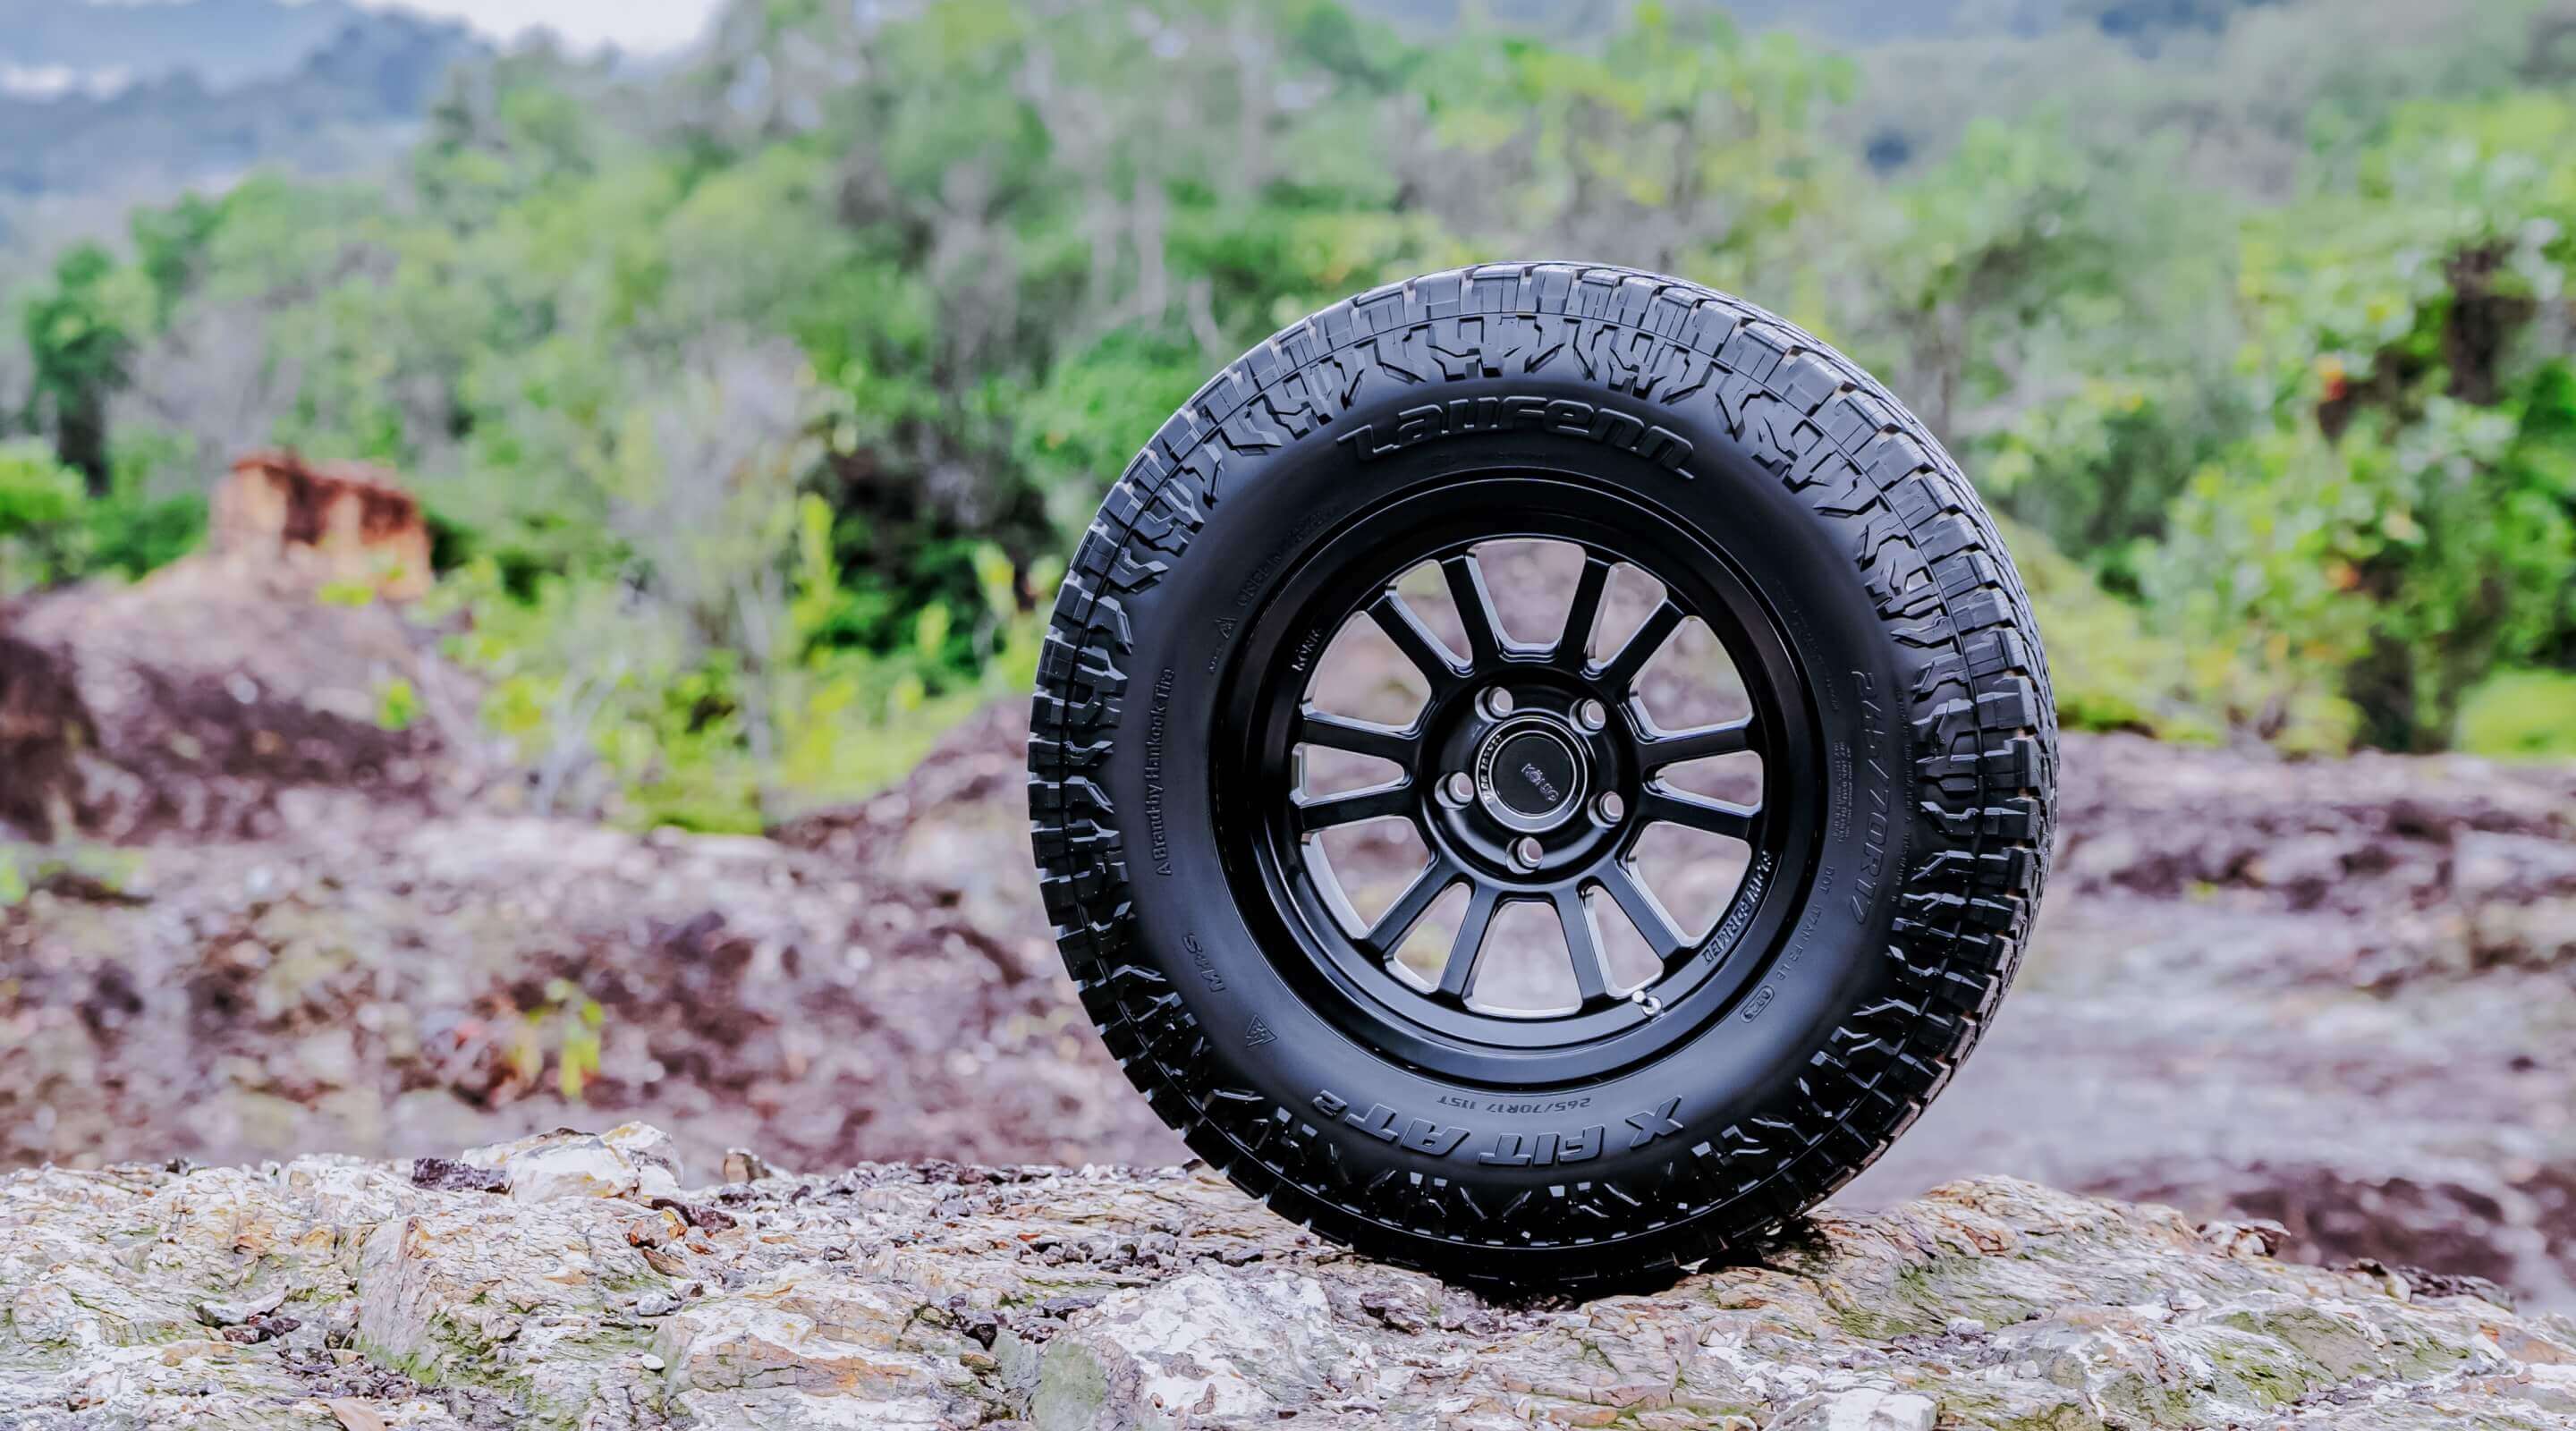
S FIT2 is back, with stronger performance than ever. S FIT2 takes driving to the next level with exceptional wet grip and precise handling, delivering a more sporty and empowering experience. Furthermore, exceptional mileage carries you further.
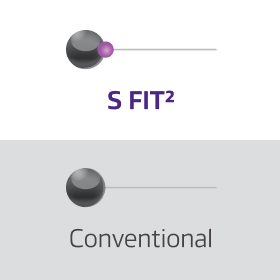
- S FIT2
- Conventional
-
Mileage
115 -
Wet
116
Braking -
Wet
110
Handling -
Noise
104 -
Dry
114
Handling -
Dry
106
Braking
Features
-
1
Superior Wet Performance
-
2
Responsive Steering for Sporty Driving
-
3
Long-Lasting Tyres for Every Journey
-
4
Energy Efficient & Comfort
Property/Benefit/Warranty
Property
-
 Wet
Wet
-
 Dry
Dry
-
 Sporty
Benefit
-
 Handling
-
 Braking
-
 Wear Life
-
 Noise
Noise
-
 Fuel
Fuel
Efficiency
spec
Available Sizes
Size |
LI&SS |
Label |
||
|---|---|---|---|---|
RR |
Wetgrip |
Wave(dB) |
||
| 225/35ZR19Y XL | 88Y | C | A | B(71) |
| 235/35ZR19Y XL | 91Y | C | A | B(71) |
| 245/35ZR20Y XL | 95Y | C | A | B(71) |
| 255/35ZR19Y XL | 96Y | C | A | B(73) |
| 255/35ZR20Y XL | 97Y | C | A | B(73) |
| 275/35ZR20Y XL | 102Y | C | A | B(73) |
Size |
LI&SS |
Label |
||
|---|---|---|---|---|
RR |
Wetgrip |
Wave(dB) |
||
| 205/40ZR17W XL | 84W | C | A | A(69) |
| 215/40ZR17Y XL | 87Y | C | A | B(71) |
| 215/40ZR18Y XL | 89Y | C | A | B(71) |
| 225/40ZR18Y XL | 92Y | C | A | B(71) |
| 225/40ZR19Y XL | 93Y | C | A | B(71) |
| 235/40ZR18Y XL | 95Y | C | A | B(71) |
| 235/40ZR19Y XL | 96Y | C | A | B(71) |
| 245/40ZR17Y XL | 95Y | C | A | B(71) |
| 245/40ZR18Y XL | 97Y | C | A | B(71) |
| 245/40ZR19Y XL | 98Y | C | A | B(71) |
| 245/40ZR20Y XL | 99Y | C | A | B(71) |
| 255/40ZR19Y XL | 100Y | C | A | B(73) |
| 255/40ZR20Y XL | 101Y | C | A | B(73) |
Size |
LI&SS |
Label |
||
|---|---|---|---|---|
RR |
Wetgrip |
Wave(dB) |
||
| 195/45R16V XL | 84V | C | B | A(69) |
| 205/45R16V XL | 87V | C | A | A(69) |
| 205/45R17V XL | 88V | C | A | A(69) |
| 205/45ZR16W XL | 87W | C | A | A(69) |
| 205/45ZR17W XL | 88W | C | A | A(69) |
| 215/45R16V XL | 90V | C | A | A(69) |
| 215/45ZR17W XL | 91W | C | A | A(69) |
| 215/45ZR17Y XL | 91Y | C | A | A(69) |
| 215/45ZR18Y XL | 93Y | C | A | A(69) |
| 225/45R17V XL | 94V | C | A | B(71) |
| 225/45ZR17Y XL | 94Y | C | A | B(71) |
| 225/45ZR18Y XL | 95Y | C | A | B(71) |
| 225/45ZR19W XL | 96W | C | A | B(71) |
| 235/45ZR17Y XL | 97Y | C | A | B(71) |
| 235/45ZR18Y XL | 98Y | C | A | B(71) |
| 245/45ZR17Y XL | 99Y | C | A | B(71) |
| 245/45ZR18Y XL | 100Y | C | A | B(71) |
| 245/45ZR19Y XL | 102Y | C | A | B(71) |
| 255/45ZR18Y XL | 103Y | C | A | B(73) |
| 255/45ZR19Y XL | 104Y | C | A | B(73) |
Size |
LI&SS |
Label |
||
|---|---|---|---|---|
RR |
Wetgrip |
Wave(dB) |
||
| 185/50R16V | 81V | C | B | B(69) |
| 195/50R15V | 82V | C | B | B(69) |
| 195/50R16V XL | 88V | C | B | A(69) |
| 205/50R17V XL | 93V | C | A | A(69) |
| 205/50ZR17W XL | 93W | C | A | A(69) |
| 215/50ZR17W XL | 95W | C | A | A(69) |
| 225/50ZR17Y XL | 98Y | C | A | B(70) |
| 225/50ZR18W XL | 99W | C | A | B(71) |
Size |
LI&SS |
Label |
||
|---|---|---|---|---|
RR |
Wetgrip |
Wave(dB) |
||
| 185/55R15V | 82V | C | B | B(69) |
| 185/55R16V | 83V | C | B | B(69) |
| 195/55R15V | 85V | C | B | B(69) |
| 195/55R16V | 87V | C | B | B(69) |
| 195/55R20H XL | 95H | C | B | A(69) |
| 205/55R16H | 91H | C | A | B(69) |
| 205/55R16V | 91V | C | A | B(69) |
| 205/55R16V XL | 94V | C | A | A(69) |
| 205/55R19V XL | 97V | C | A | A(69) |
| 205/55ZR16W | 91W | C | A | B(69) |
| 205/55ZR17W XL | 95W | C | A | A(69) |
| 215/55R16V | 93V | C | A | B(69) |
| 215/55R18V XL | 99V | C | A | A(69) |
| 215/55ZR16W XL | 97W | C | A | A(69) |
| 215/55ZR17W XL | 98W | C | A | A(69) |
| 225/55R16V | 95V | C | A | B(71) |
| 225/55R18V | 98V | C | A | B(71) |
| 225/55ZR16W XL | 99W | C | A | B(71) |
| 225/55ZR17Y XL | 101Y | C | A | B(71) |
| 235/55ZR17W XL | 103W | C | A | B(71) |
Size |
LI&SS |
Label |
||
|---|---|---|---|---|
RR |
Wetgrip |
Wave(dB) |
||
| 195/60R15V | 88V | C | B | B(69) |
| 205/60R16V | 92V | C | A | B(69) |
| 205/60R16V XL | 96V | C | A | A(69) |
| 215/60R16H XL | 99H | C | A | A(69) |
| 215/60R16V XL | 99V | C | A | A(69) |
Size |
LI&SS |
Label |
||
|---|---|---|---|---|
RR |
Wetgrip |
Wave(dB) |
||
| 195/65R15V | 91V | C | B | B(69) |
| 205/65R15H | 94H | C | A | B(69) |
Stronger on Wet Roads,
Longer on Every Mile


Superior Wet Performance
S FIT2 delivers exceptional wet performance, ensuring confident and enjoyable driving on wet roads.
-
Wet
-
Braking
-
Handling
Superior Wet Performance
High silica compound compared to its predecessor enhances flexiblity and bonding with wet surfaces, delivering exceptional wet braking performance.
Advanced Wet Grip
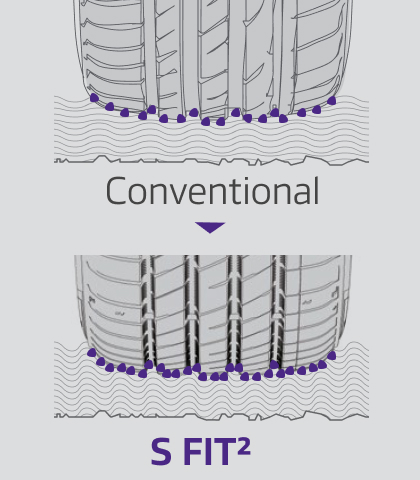
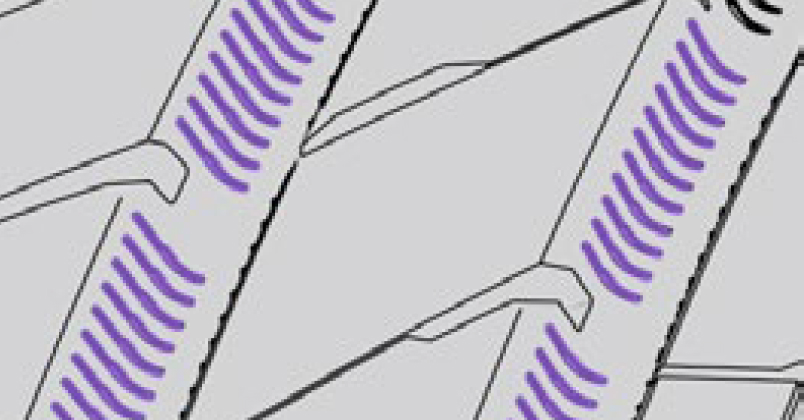
Convex block design enhances water drainage through efficient water dispersion, improving tyre contact on wet roads.
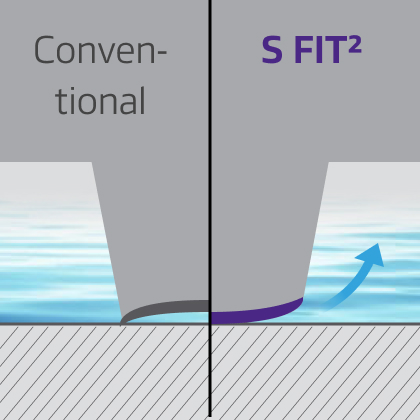
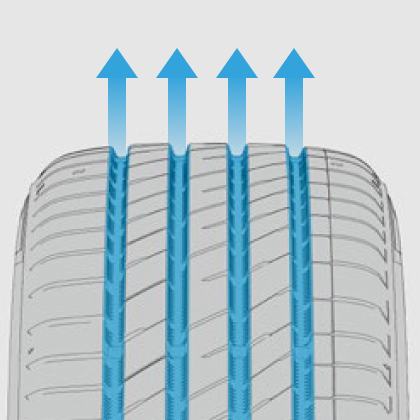
Enhanced Hydroplaning Resistance
The 4 straight grooves efficiently channel water away from the tyre contact area, helping to prevent hydroplaning and enhance water drainage under wet conditions.
Wet Handling Performance improved by 10%
compared to its predecessor


Responsive Steering for Sporty Driving
S FIT2 ensures high-speed stability and precise handling on any road, allowing drivers to enjoy dynamic and sporty driving.
-
Sporty
-
Handling
-
Dry
-
Wet
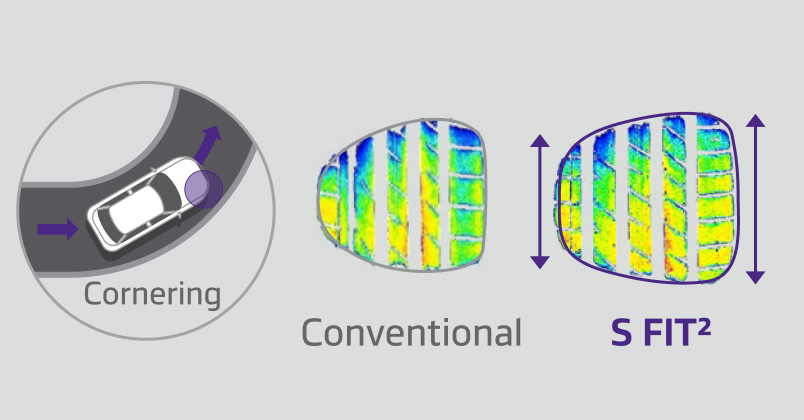
Cornering Stability with High Grip
The reinforced outer shoulder blocks and high-grip resin compound maximise road contact, ensuring precise steering control and stable cornering at high speed.
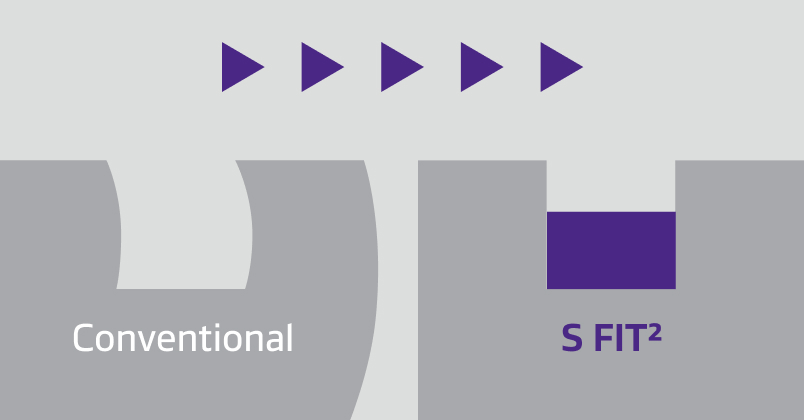
Consistent Performance
Tie-bars in the lateral grooves design control block distortion, increasing tyre stiffness and ensuring comfort with consistent performance.
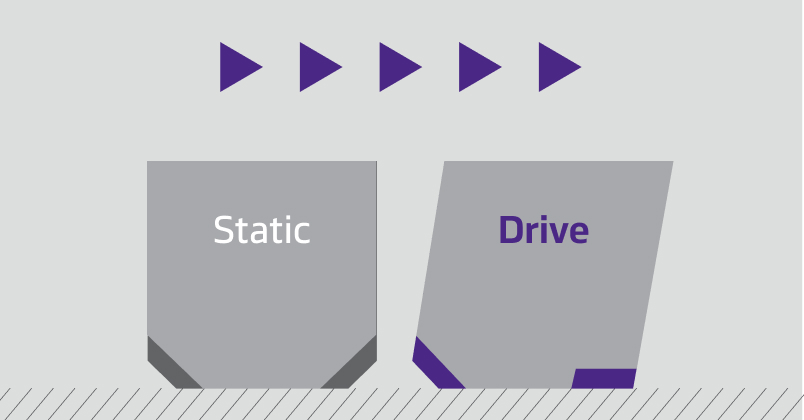
Precise Steering
Chamfer design enhances steering response and cornering stability by ensuring consistent block edge contact.
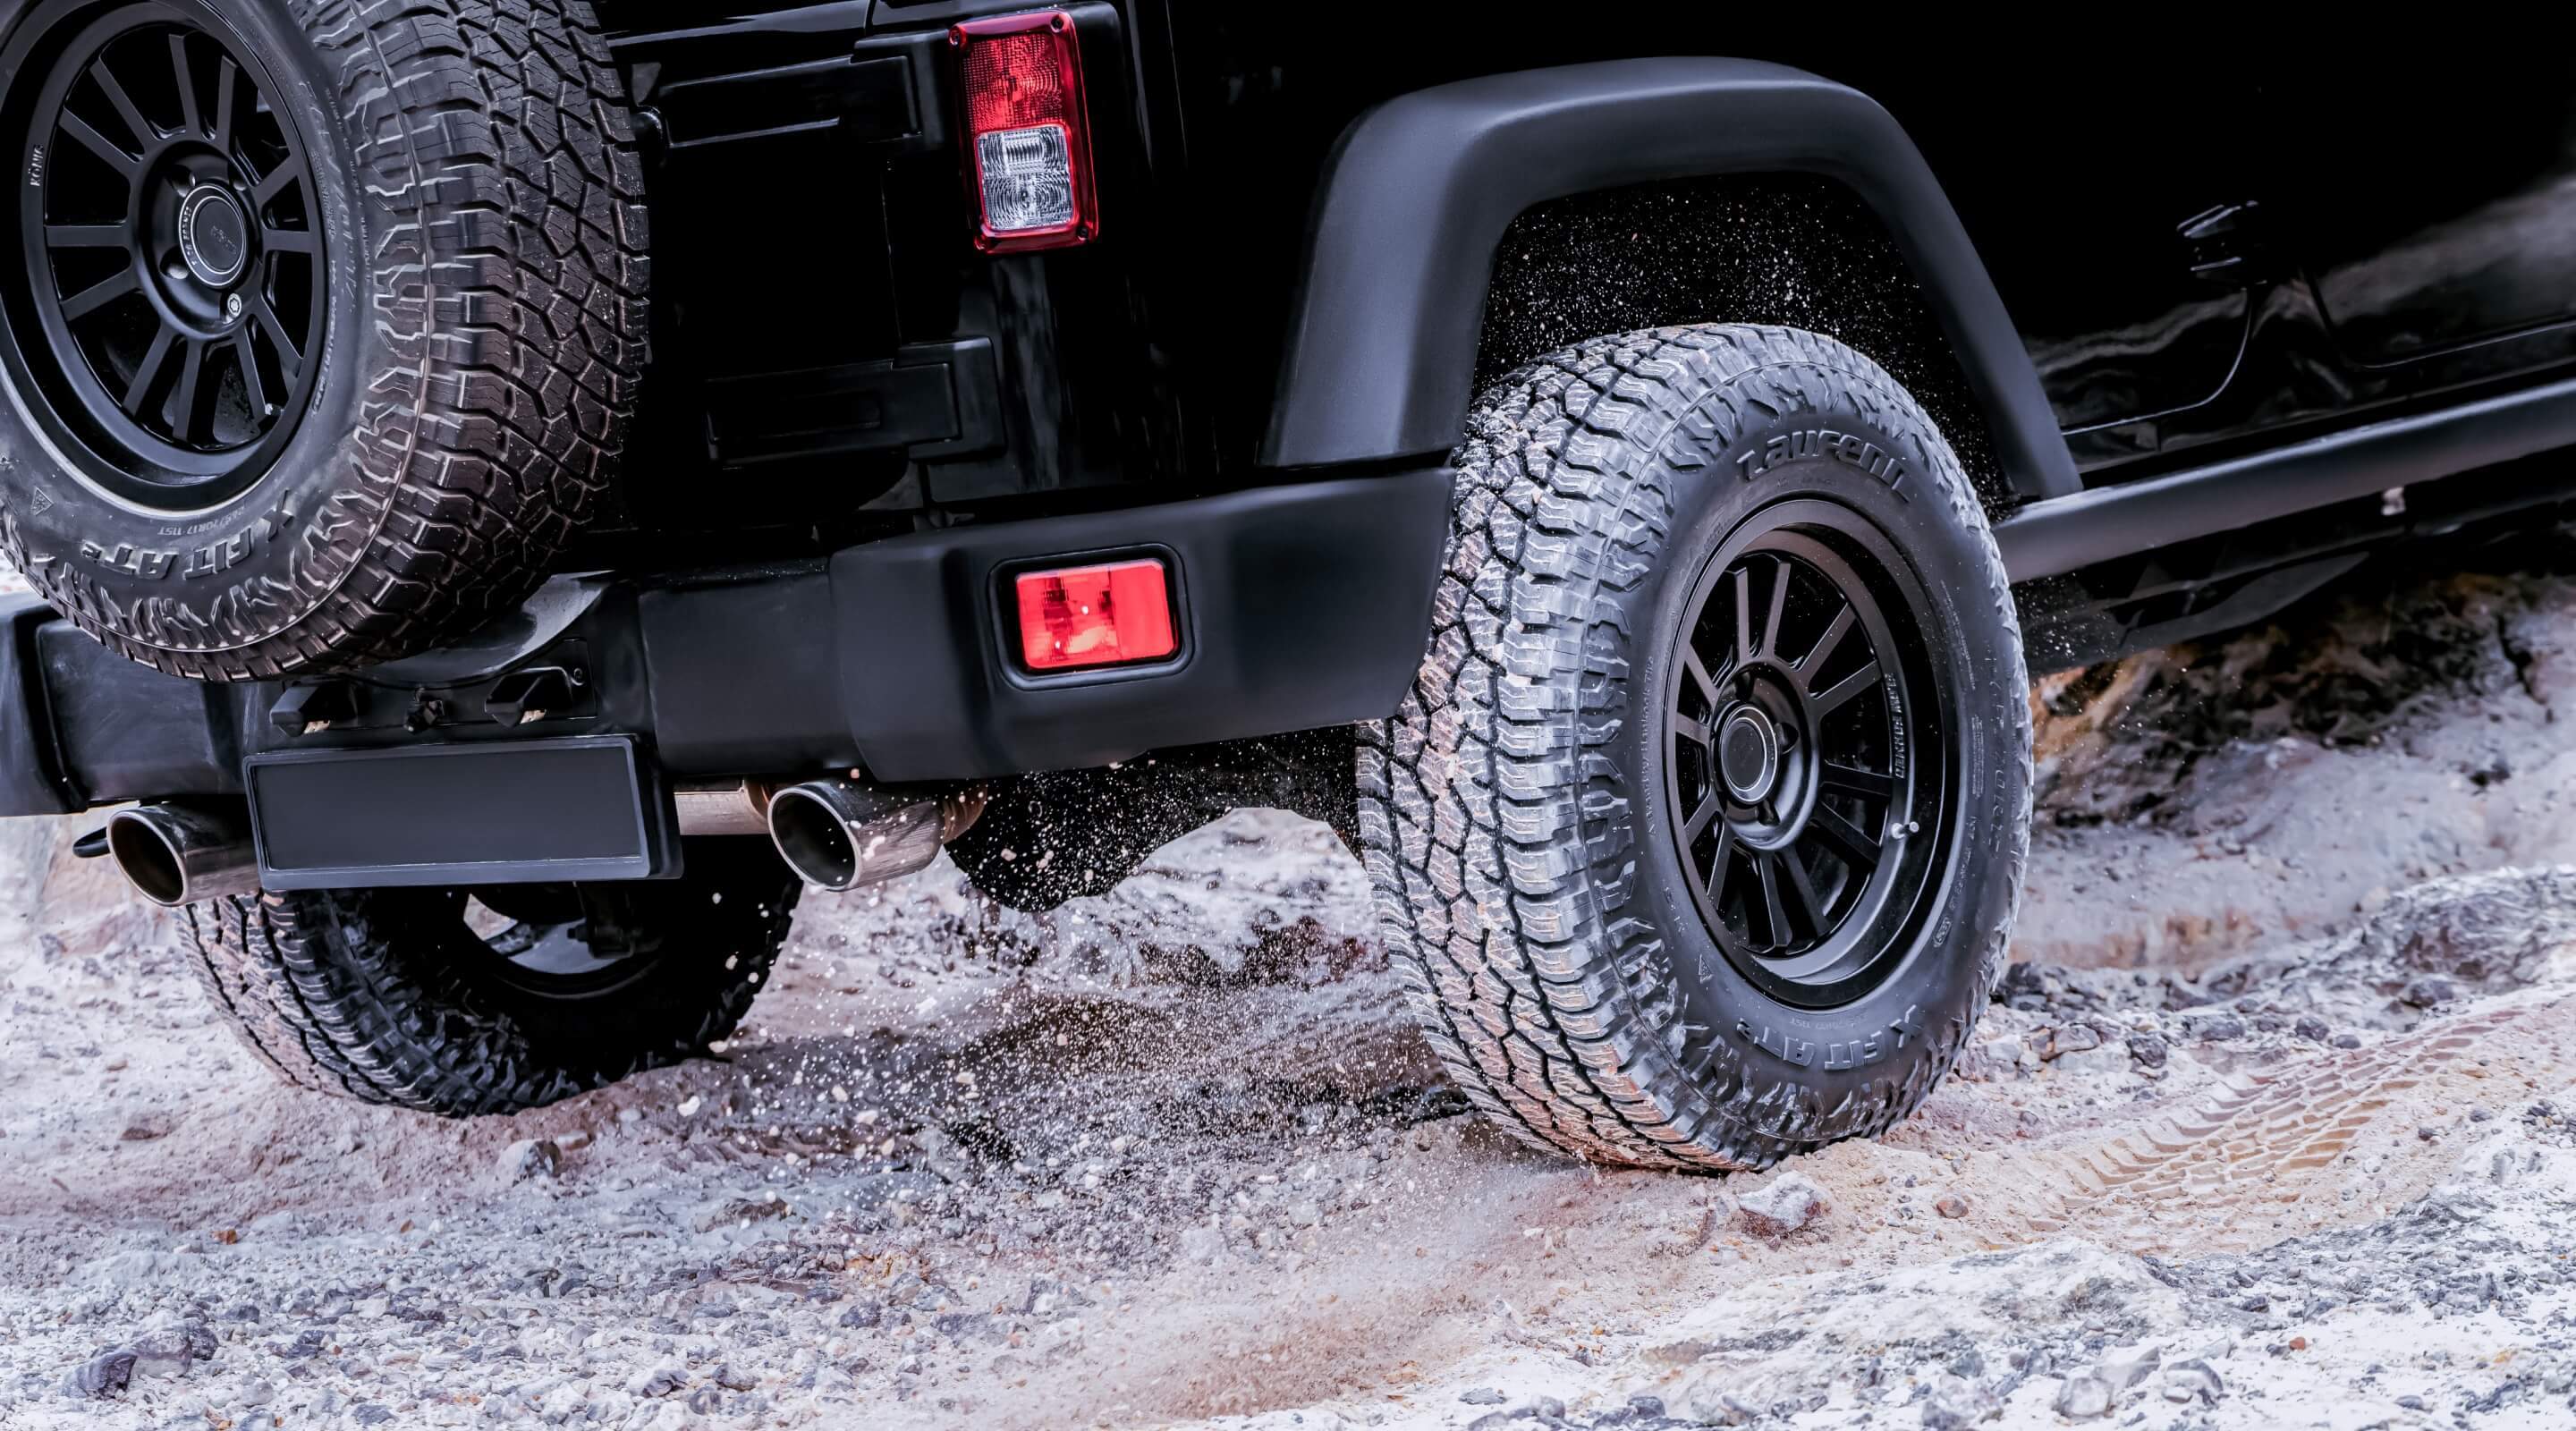
Long-Lasting Tyres for Every Journey
S FIT2 provides increased mileage and prevents uneven tread wear, which makes your tyre last longer and helps you go further on every journey.
-
Wear Life
Increased Bonding for Long Mileage
The new generation polymer, combined with optimised mixing technology, ensures better interaction and bonding among compound elements, resulting in even distribution throughout the compound and higher mileage.
 115%
115%
 100%
100%
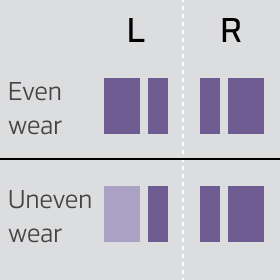
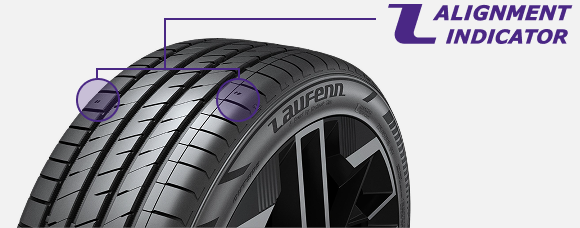
Longevity Enhancer
The uniform groove design promotes even wear by distributing contact pressure evenly across the tread. During your journey, the uneven wear indicator helps detect alignment issues early and extend tyre life.
Energy Efficient & Comfort
S FIT2 is built with an innovative structure and design that reduces energy consumption and noise, making it suitable not only for conventional cars with combustion and hybrid engines but also for electric vehicles.
Comparison between Electric and Internal Combustion Engine Vehicles
- ① Quieter operation
- ② Added battery weight (up to 30%)
- ③ Charging time and travel range limitations
Electric Vehicle Tyer Characteristics Specifically Designed and Optimised for:
- ① Comfortable ride with reduced road noise
- ② Lower tyre weight and improved rolling resistance for extended battery life and driving range
* Battery EVs and Plug-in Hybrid EVs share similar characteristics
-
 Comfort
-
Noise
-
Fuel
Efficiency
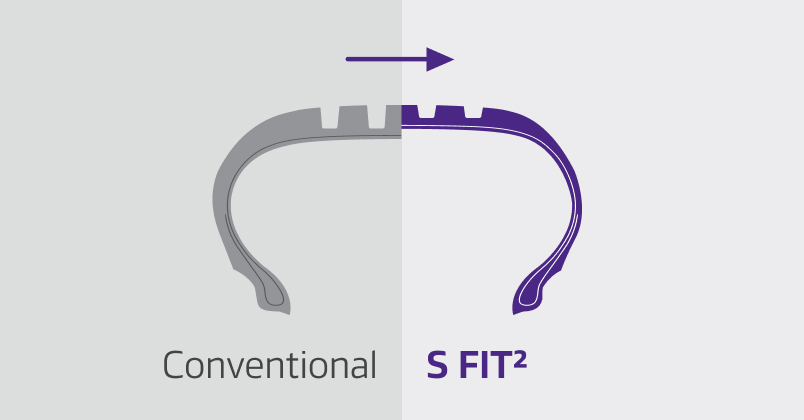
Optimised Structure For Energy Efficiency
The innovative structure optimises weight, reducing energy and grip loss while enhancing stability and safety.
Reduced Impact Noise
By applying Chamfer to the main grooves, impact noises are reduced, ensuring a quieter driving experience.
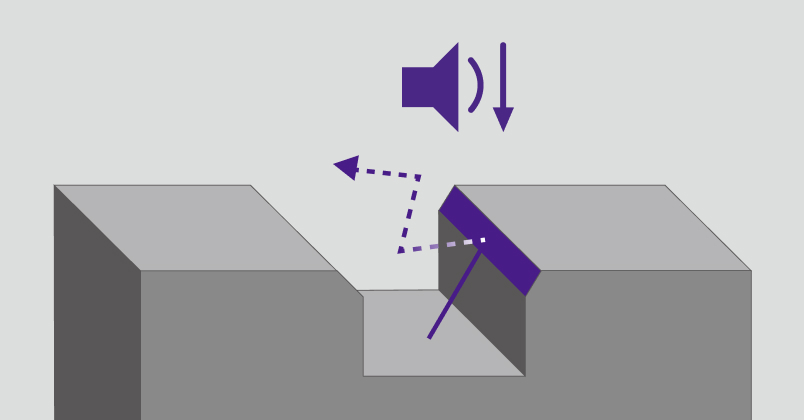
Less Vibration, Less Noise
Reduce noise by narrowing the air path within the grooves, which minimises the resonance and vibration that cause noise.


Tyre guide / Care guide
Tyre guide
Tyre structure
Tread, shoulder, sidewall, bead, carcass, belt, inner liner, and other components are structurally connected to complete the scientific structure of a tyre.
Tread (the part that has direct contact with the road surface)
The tread consists of a thick layer of rubber which comes into direct contact with the road surface. It is highly resistant to fracture and shock in order to protect the carcass and belt located in the tyre’s interior. Also, rubber with strong anti-inner abrasion features is used to increase the tyre’s driving lifespan.
Shoulder (the shoulder of the tyre)
Located between the tread and sidewall, the shoulder is the thickest part in a tyre. Because of this, the shoulder is designed to quickly and easily dissipate heat that accumulates inside the tyre while driving.
Sidewall (the side of the tyre)
Located between the tyre’s shoulder and bead, the sidewall protects the carcass on the inside and provides a comfortable riding experience due to its flexibility during driving. Also, the type of tyre, size, structure, tread pattern, manufacturer, brand name and other detailed information are marked on the sidewall.
Bead (the part that is in contact with the rim)
The bead wraps around the end of the cord and fixes the tyre to the rim. It is made up of various parts including the bead wire, core, rubber and flipper. In general, the rim is slightly tightened so in the case of sudden reduction of air pressure while driving, the tyre will not become unfastened from the rim.
Carcass (the framework of the tyre)
The carcass is the framework of the tyre, the most important part. The carcass refers to all layers made up of tyre cord. It absorbs the tyre’s internal air pressure, weight and shock.
Breaker or belt (the layer in between the tread and carcass)
The breaker is a cord layer placed in between the tread and carcass to protect the carcass. It absorbs external shock and prevents splintering or injury to the tread from coming into direct contact with the carcass. At the same time, the breaker prevents the separation of the rubber layer and carcass. The belt is a strong reinforcement layer located in the circumference in between the tread and carcass in radial tyres. The belt’s functions are similar to those of the breaker but it also reinforces the strength of the tread by firmly tightening the carcass.
Inner liner
The inner liner substitutes for the tube in the tyre’s interior and consists of rubber layers with low air permeability. The rubber layer generally consists of butyl, synthetic rubber or polyisoprene type. The main function of the inner liner is to hold high-pressure air inside.
Tyre sidewall
A tyre’s sidewall protects the carcass on the inside and provides a comfortable riding experience due to its flexibility during cornering. Also, the type of tyre, size, structure, tread pattern, manufacturer, brand name, and other detailed information are marked on the sidewall.
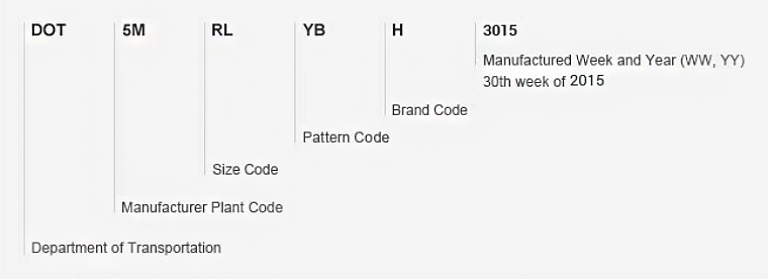
DOT (Department of transportation)
Tyre size
Tyre size notation is dependent on vehicle type but primarily consists of symbols and numbers denoting tyre width, aspect ratio, diameter, load index and speed symbol that indicate tyre performance.
Safety warning
This indicates important information related to tyre use.
Place of origin
This indicates the region where the tyre was manufactured.
Sizes & specs
The selection criteria for tyres change depending on the type of vehicle you own and your style of driving. For a pleasurable driving experience, it is important to take these factors into consideration when selecting an appropriate Laufenn tyre product.
Tyre section width
Distance (mm) in a straight line between the sidewalls fitting to rim with standard air pressure and without loads.
Tyre section height
Half of the distance which is the difference between the tyre’s outer diameter and rim diameter.
Aspect ratio
The ratio of section height to section width.
*Aspect ratio =
(Height) / (Width) X 100
Rim diameter
The distance between the rim bases in contact with the rim flange (almost identical to the tyre’s interior diameter).
Tyre overall diameter
Outer diameter of tyre fitting to rim with standard air pressure and without loads.
Load & speed
The symbol that shows a tyre's performance level consists of two parts: tyre performance is marked by load index (LI) and speed symbol (SS). LI refers to the maximum load that one tyre can support, and SS refers to the maximum speed that a tyre can handle.
Load index
Load index is a numerical code stipulating the maximum load each tyre can carry. For example, if the load index is 100, it means that a tyre can carry a load up to 800kg.
Speed symbol
Speed symbol indicates the maximum speed at which the weight (with the exception of weight when speed is equal to or exceeds 210 km/h) designated by the manufacturing company can be supported by the tyre.
Care guide
Tyre pressure
The tyre inflation pressure is directly related to safety. Therefore, tyre pressure must be checked regularly, and proper maintenance can prolong the lifespan of the tyres. Learn about the importance of tyre inflation pressure and how to check the pressure of your tyres.
Importance of tyre pressure
- Optimum air pressure should be maintained to ensure safety,
driving performance, tyre life and fuel cost.
- Tyres have been known to lose up to one psi in a month (psi: pound per
square inch) Therefore, it is important to check all tyres, even the spare,
at least once a month or before a long trip.
Recommended interval
Tyre pressure should be checked every month.
Checking for optimum tyre pressure
Laufenn tyre recommends you to check your tyre pressure once in a
month.
The optimum air pressure level for your tyre can be found on the inner side
of the car door, inside the fuel cap or in the car manual (the location of
the sticker can vary according to country).
DO NOT compare your inflation pressure to its maximum pressure marked on the
tyre’s sidewall.
How to check tyre pressure
1. Purchase a certified air pressure gauge or take your vehicle
to a nearby service centre (or gas station) for a check-up.
2. Tyres must be checked in a “cold” state (at least three hours after
driving).
3. Insert the gauge into the valve.
4. Compare the measured air pressure level with the level listed on the car
door.
- If the measured figure is higher, release air until the figure matches
what is listed on the car door.
- If the measured figure is lower, insert more air until the figure
matches what is listed on the car door.
Maintenance
Tyre wear directly affects the driver’s safety and the performance of the vehicle. It is essential for the driver to be well-informed about how to check for tyre wear regularly.
Importance of checking for tyre wear
The deeper the groove, which is on the surface of the tyre, the more grip a tyre will have. You can prevent danger of unexpected accidents by checking for tyre wear on a regular basis.
Recommended interval between check-ups
Laufenn tyre recommends that you check for tyre wear once each month. Also, make sure to do a check once more after long distance travel.
Checking for tyre wear with tyre tread wear indicator
You can check for the depth of the groove by using a tyre tread depth gauge or by observing the tread wear indicator on the side of the tyre. To ensure optimum safety and performance, tyres should be replaced when the tyre groove wears below 2mm to 3mm.
Rotation
Periodic rotation prevents uneven wear, prolonging the life of your tyres. Learn about the importance of tyre rotation and how to rotate them.
The importance of tyre rotation
Periodic tyre rotation helps extend the life of your tyres and improves performance level. For safe driving and saving money, please refer to the rotation method below.
When to rotate your tyres
In general, it is best to rotate tyres every six months or 10,000km. Changing tyre position to an alternative position ensures even wear and long life of the tyre.
Balance
Tyre balance must be checked if there is unexpected vibration or noise from a tyre. Learn about the importance of tyre balance, which is necessary for a comfortable driving experience, and when to inspect a balance.
The importance of tyre balance
Tyre balancing is a process of compensating for the weight of the tyre and wheel after assembly. If not properly balanced, it increases vibration and causes stress to your vehicle.
When to inspect for tyre balance
If you feel a vibration from a tyre, visit a mechanic. A mechanic will attach a balancing weight to the exterior or interior of the wheel to counteract centrifugal forces acting on the heavy areas when the wheel is turning.
How to balance tyre and wheel
To balance the tyre and wheel assembly, a balance weight can be used when a certain spot is lighter or heavier than it should be.
Wheel alignment
To prevent vibration, skidding, noise and wear, wheel alignment inspection is necessary. Learn about useful information regarding wheel alignment and how to perform an inspection.
The importance of wheel alignment
The purpose of wheel alignment is to adjust front-wheel handling while driving. If wheel alignment is off, tyre life is shortened while car and mileage performance also decrease.
When to check wheel alignment
Laufenn tyre recommends inspecting wheel alignment every year or
every 20,000km. The inspection is required:
- After a car accident.
- After tyre replacement.
- When there is uneven wear on a shoulder.
- When the steering wheel is unstable and/or vibrating
- When riding is uncomfortable or fuel efficiency gets worse
Replacement
In order to ensure a safe and comfortable ride, it’s strongly recommended that all drivers know when and how to replace tyres.
The importance of tyre replacement
Timely replacement of the tyre is critical for driver safety and also influences vehicle lifespan and performance.
When to replace a tyre
- In case of severe tyre erosion.
- In case repair is
impossible due to tyre puncture.
How to replace a tyre
In the case of a damaged tyre and wheel, professional consultation is recommended. Tyre replacement should only be done by a trained and highly experienced technician.
Tips for tyre replacement
- It is the best to replace two tyres on one axle at the same
time.
- The replacement of only one tyre of the two tyres on the same axle usually
causes to unbalance the vehicle.
Loading...