


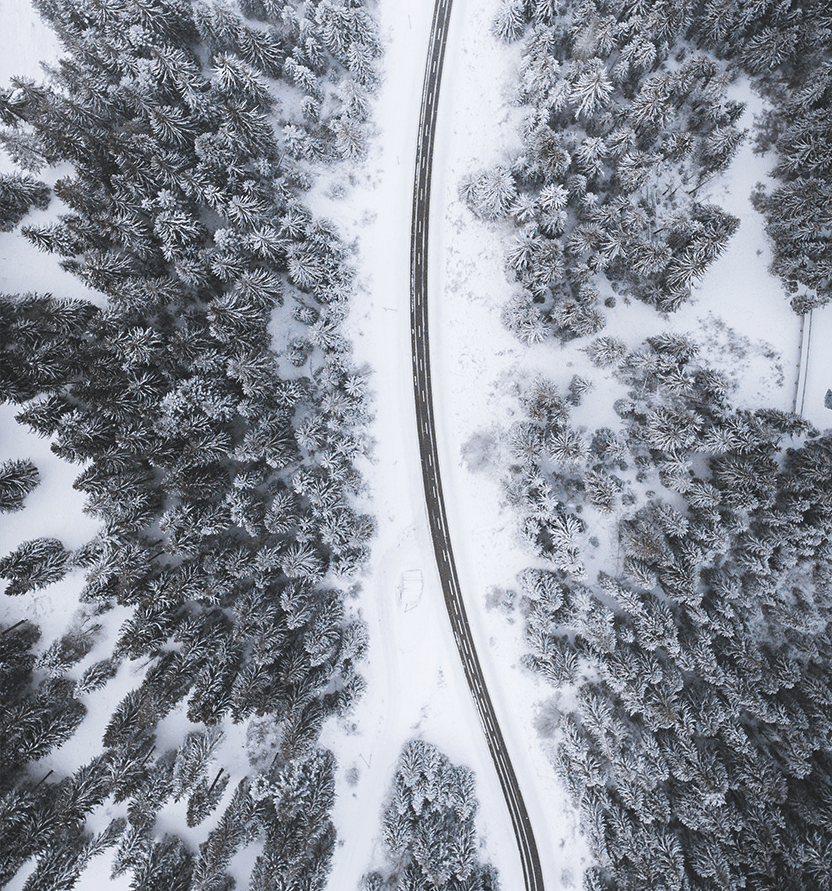
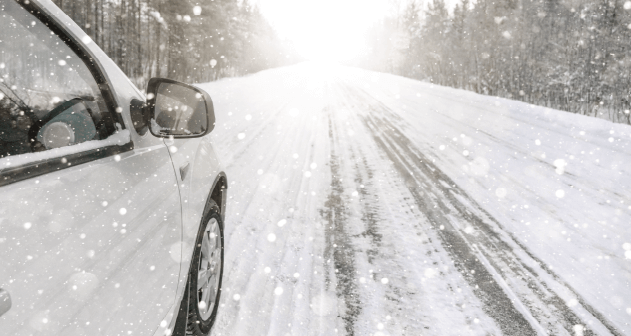
It’s snowing now?
Let's go for a safe and reliable drive.


M + S : Mud + Snow

3PMSF : 3 Peak Mountain Snowflake
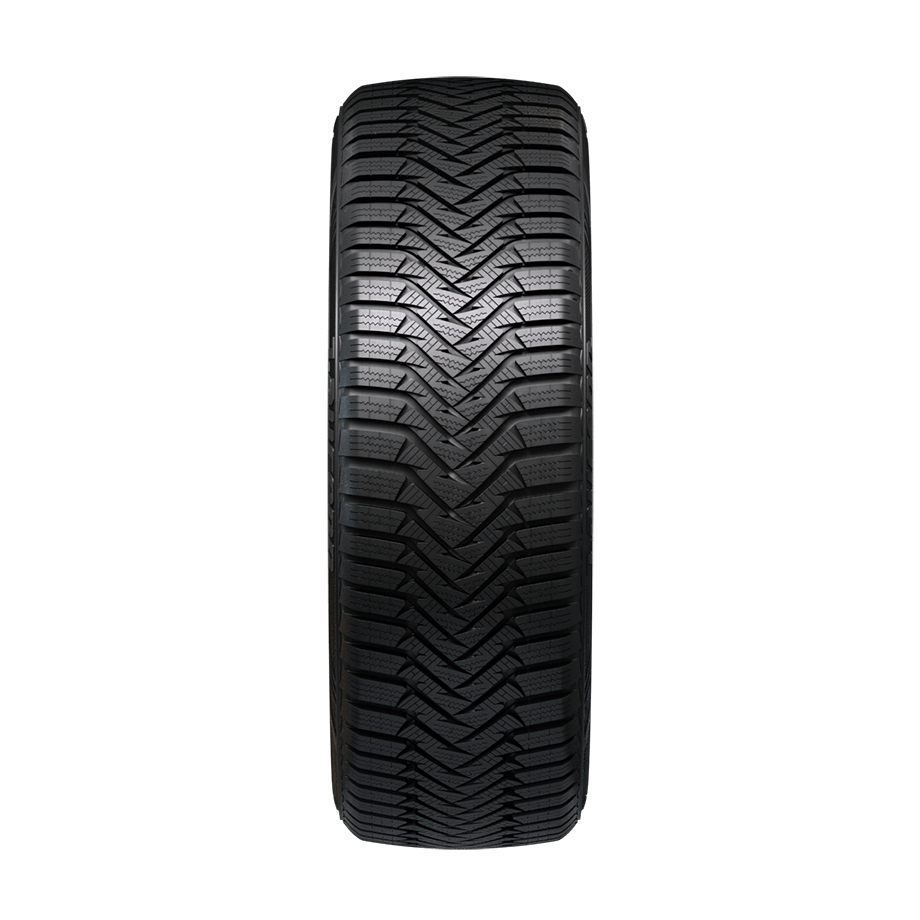
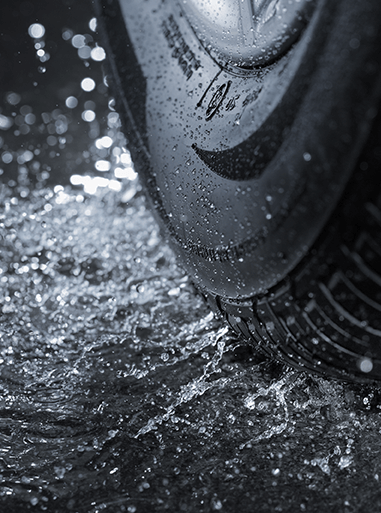
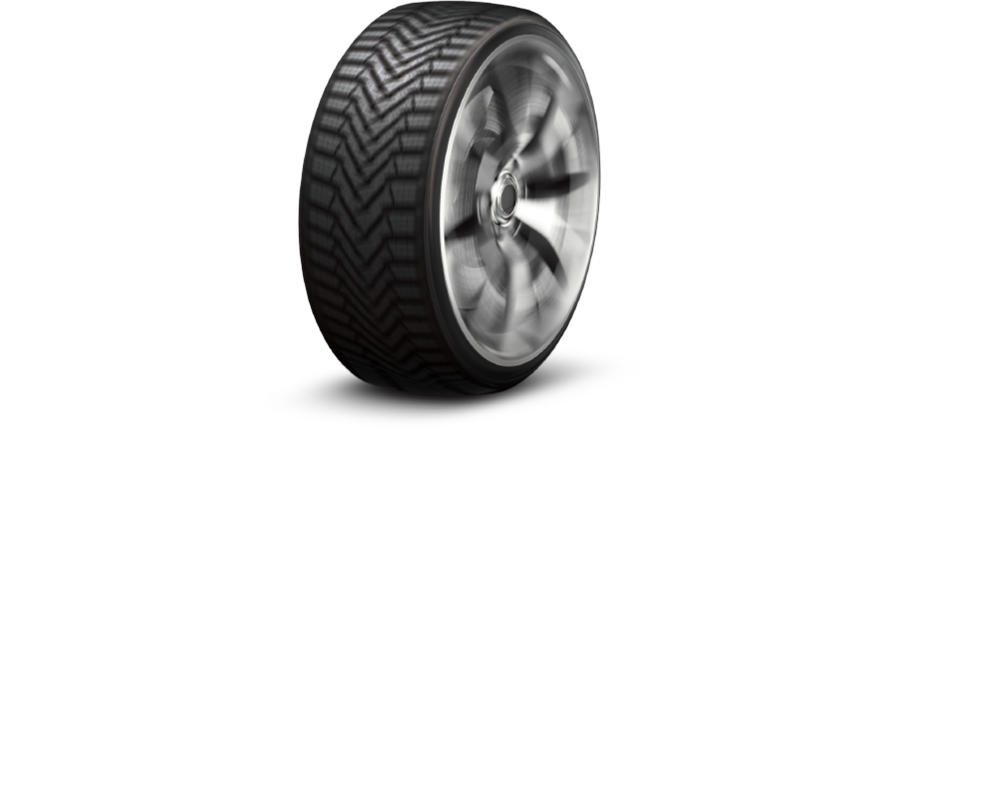
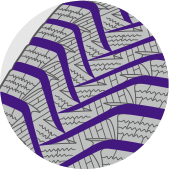
Winter Performance Tyre
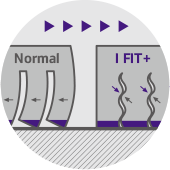
I FIT+ provides drivers with a comfortable and
competent
driving performance in
snowy and wet road conditions.

Property
Snow
Wet
Benefit
Braking
Handling
Traction
Sport
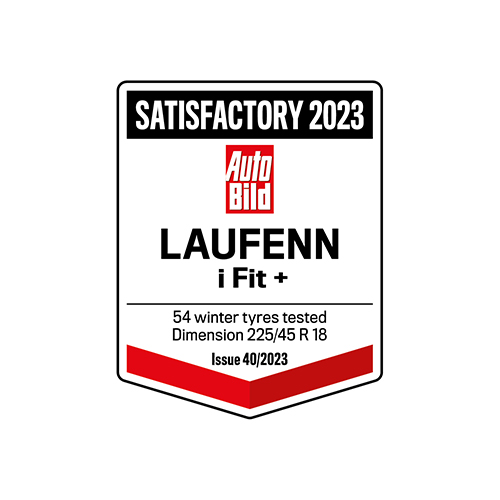
Test Result & Design Award

"Satisfactory"

"Winner"

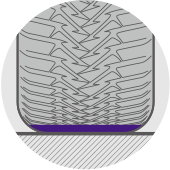
 Wet braking
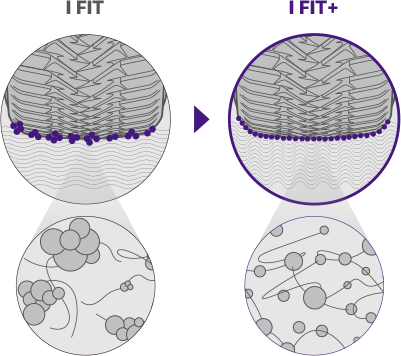
Nano Sized Sillica Compound
- Nano sized sillica improves wet grip by maximising the road and tyre contact area.
- Advanced compound mixing technology creates a polymer matrix with connecting nano sized sillica and carbon black.
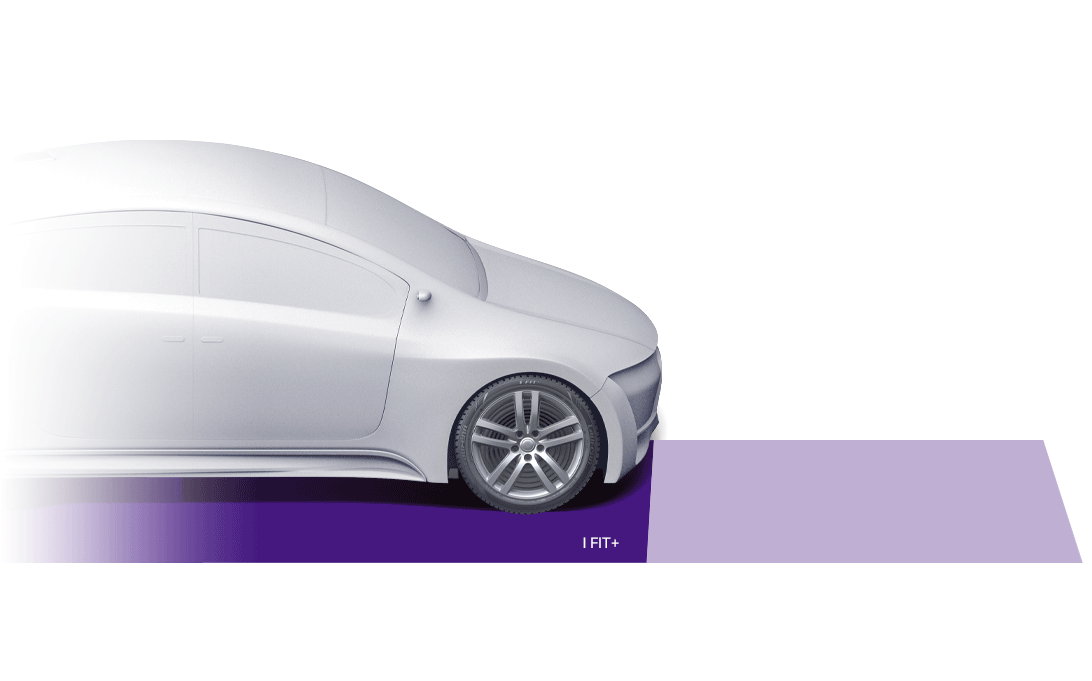
The I FIT+ has a shorter braking distance on wet roads.
It helps drivers to experience safe and confident driving.


Aqua Slush Edge Grooves
Prevents hydroplaning through effectively pushing out water into the side direction on wet roads through an optimised profile and an effective lateral groove form.
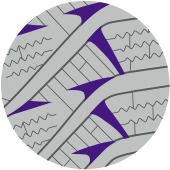
Grip Claw Technology
A sharp 3D edge improves tyre traction and increases pattern stiffness.
It provides precise handling on any road conditions.
Snow & Water Evacuation
Improves snow, ice and wet grip by expelling the water away from the tyre,
avoiding hydroplaning and optimising the road/tyre contact area.
The I FIT+ provides impressive handling performance
enabling safe driving on any road conditions.


Flexible Snow Compound
The winter tyre compound is softer than the summer tyre compound in low temperatures, providing increased grip and safe driving in winter conditions.
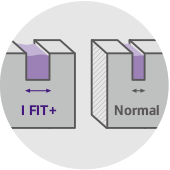
Groove Edge & Kerf Length
Helps effectively bite into the snow and improves the traction performance of the tyres.
3D Kerf
Ensures optimal winter performance and enhanced driving stability by minimising block movement.
The I FIT+ provides perfect grip on snowy roads.

| Size | LI&SS | RR | Wetgrip | Noise Level(dB) |
|---|---|---|---|---|
| 225/40R18 XL | 92V | D | C | B(72) |
| 245/40R18 XL | 97V | D | C | B(72) |
| Size | LI&SS | RR | Wetgrip | Noise Level(dB) |
|---|---|---|---|---|
| 205/45R17 XL | 88V | D | C | B(72) |
| 215/45R17 XL | 91V | D | C | B(72) |
| 225/45R17 | 91H | D | C | B(72) |
| 225/45R17 XL | 94V | D | C | B(72) |
| 225/45R18 XL | 95V | D | C | B(72) |
| 235/45R17 XL | 97V | D | C | B(72) |
| 235/45R18 XL | 98V | D | C | B(72) |
| 245/45R17 XL | 99V | D | C | B(72) |
| 245/45R18 XL | 100V | D | C | B(72) |
| Size | LI&SS | RR | Wetgrip | Noise Level(dB) |
|---|---|---|---|---|
| 195/50R15 | 82H | E | C | B(72) |
| 205/50R17 XL | 93V | D | C | B(72) |
| 215/50R17 XL | 95V | D | C | B(72) |
| 225/50R17 XL | 98V | D | C | B(72) |
| 225/50R17 XL | 98H | D | C | B(72) |
| 235/50R18 XL | 101V | D | C | B(72) |
| 255/50R19 XL | 107V | D | C | B(73) |
| Size | LI&SS | RR | Wetgrip | Noise Level(dB) |
|---|---|---|---|---|
| 185/55R15 | 82T | D | C | B(71) |
| 195/55R15 | 85H | D | C | B(72) |
| 195/55R16 | 87H | D | C | B(72) |
| 205/55R16 | 91H | C | C | B(72) |
| 205/55R16 | 91T | C | C | B(72) |
| 205/55R16 XL | 94H | C | C | B(72) |
| 205/55R17 XL | 95V | D | C | B(72) |
| 215/55R16 | 93H | D | C | B(72) |
| 215/55R16 XL | 97H | D | C | B(72) |
| 215/55R17 XL | 98V | D | C | B(72) |
| 225/55R16 | 95H | D | C | B(72) |
| 225/55R16 XL | 99H | D | C | B(72) |
| 225/55R17 XL | 101V | D | C | B(72) |
| 225/55R18 | 98V | D | C | B(72) |
| 235/55R17 XL | 103V | D | C | B(72) |
| 235/55R18 XL | 104H | D | C | B(72) |
| 235/55R19 XL | 105V | D | C | B(72) |
| 255/55R18 XL | 109V | D | C | B(73) |
| Size | LI&SS | RR | Wetgrip | Noise Level(dB) |
|---|---|---|---|---|
| 185/60R14 | 82T | D | C | B(71) |
| 185/60R15 | 84T | D | C | B(71) |
| 185/60R15 XL | 88T | D | C | B(71) |
| 195/60R15 | 88T | D | C | B(72) |
| 205/60R16 | 92H | D | C | B(72) |
| 205/60R16 XL | 96H | D | C | B(72) |
| 215/60R16 XL | 99H | C | C | B(72) |
| 215/60R17 | 96H | D | C | B(72) |
| 225/60R16 | 98H | D | C | B(72) |
| 225/60R17 | 99H | D | C | B(72) |
| 235/60R18 XL | 107H | C | C | B(72) |
| Size | LI&SS | RR | Wetgrip | Noise Level(dB) |
|---|---|---|---|---|
| 155/65R13 | 73T | E | C | B(71) |
| 155/65R14 | 75T | D | C | B(71) |
| 165/65R14 | 79T | E | C | B(71) |
| 165/65R15 | 81T | D | C | B(71) |
| 175/65R14 | 82T | D | C | B(71) |
| 175/65R14 XL | 86T | D | C | B(71) |
| 175/65R15 | 84T | D | C | B(71) |
| 185/65R14 | 86T | D | C | B(71) |
| 185/65R15 | 88T | D | C | B(71) |
| 195/65R15 | 91T | D | C | B(72) |
| 195/65R15 | 91H | D | C | B(72) |
| 195/65R15 XL | 95T | C | C | B(72) |
| 205/65R15 | 94T | D | C | B(72) |
| 215/65R16 | 98H | C | C | B(72) |
| 225/65R17 XL | 106H | D | C | B(72) |
| 235/65R17 XL | 108H | C | C | B(72) |
| Size | LI&SS | RR | Wetgrip | Noise Level(dB) |
|---|---|---|---|---|
| 145/70R13 | 71T | E | C | B(71) |
| 155/70R13 | 75T | E | C | B(71) |
| 165/70R13 | 79T | D | C | B(71) |
| 165/70R14 | 81T | D | C | B(71) |
| 175/70R13 | 82T | D | C | B(71) |
| 175/70R14 | 84T | D | C | B(71) |
| 175/70R14 XL | 88T | D | C | B(71) |
| 185/70R14 | 88T | D | C | B(71) |
| 215/70R16 | 100T | D | C | B(72) |
| Size | LI&SS | RR | Wetgrip | Noise Level(dB) |
|---|---|---|---|---|
| 155/80R13 | 79T | D | C | B(71) |
Loading...